Step-by-Step: How to Remove Background from MP4 Videos
Let’s walk through what the process looks like in simple terms. The tools you use might vary (some are free, some paid), but the general process stays pretty much the same.
1. Upload Your Video
Start by opening your chosen video editing tool or online background remover. Upload your MP4 video file.
Most tools work with MP4 format since it’s one of the most common and compatible video types around.
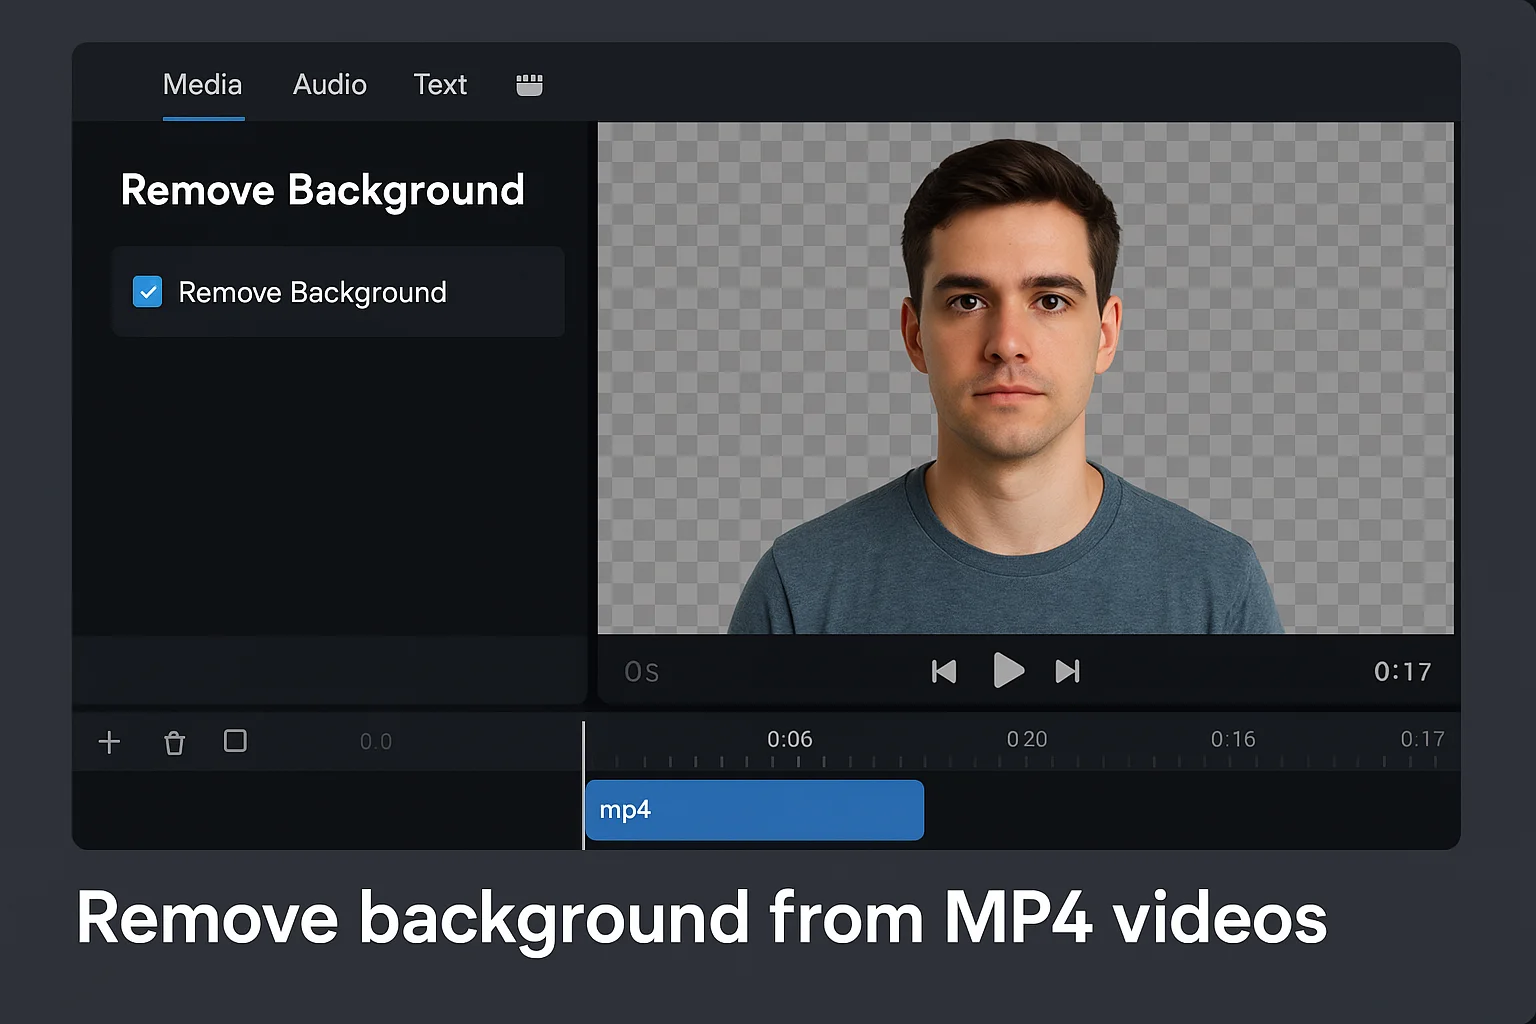
2. Choose the Background Removal Option
Look for the tool or button that says something like “Remove Background” or “Video Background Remover.” Once you click that, the software will start analyzing your footage frame by frame.
It works kind of like a smart green screen. But the difference is—you don’t need an actual green screen. The software uses AI to detect the subject and separate it from the background automatically.
3. Preview and Fine-Tune
After a few moments (depending on your file size), the tool will show you a preview. Here’s where you can fine-tune things:
- Did it cut out part of your hair or shoulder? Use the refine tools to fix that.
- Need only a section of the video? Trim or crop before or after removing the background.
4. Replace the Background (Optional)
Once the background is removed, you can leave it transparent or replace it with:
- A static image (like a photo or color)
- A custom background (such as your brand design)
- Another video or animated backdrop
If you’re layering on text or other graphics, this is a great moment to add them.
5. Download and Export
After everything is perfect to your liking, export your video. Then make sure you save it in a high-quality format appropriate to your platform (MP4 is ideal on the web, on social media).
No Green Screen? No Problem.
Back in the day, background removal meant standing in front of a neon green sheet and praying the lighting was perfect. Now? You can remove background from MP4 videos without any fancy setup.
The majority of tools nowadays use AI to work which implies that they are going to analyze your video based on motions and subject detection. This implies that you can shoot right in your bedroom, backyard, and even your car and still manage to cleanly chop the background.
What to Watch Out For
As simple as it sounds, there are a few things that can trip you up when you try to remove background from MP4 videos:
- Low lighting: Poor lighting can confuse the software. Try filming in a well-lit space for the best results.
- Busy backgrounds: If your background is full of moving people, shadows, or odd colors, it might be harder to separate the subject.
- Video length: Longer videos take more time and might hit file size limits depending on the tool you’re using.
But don’t worry—most platforms will guide you through the process with helpful tips or presets.
Free vs. Paid Tools
There are tons of free options available online that can help you remove background from MP4, but keep in mind:
- Free tools may limit resolution, add watermarks, or allow only short clips.
- Paid tools usually give cleaner cuts, support HD/4K exports, and let you batch edit multiple files.
Depending on your needs—whether you’re making social content or a business video—choose a tool that fits your goals and budget.
Final Thoughts
Video is in all places now, and it is not that easy to stand out by simply clicking on the record button. The fact that you can comfortably edit background out of MP4 files makes you a creative and polished person, regardless of whatever you want to produce. You no longer need to be a designer or a tech nerd to use it. It is aimed at teachers who create tutorials, small companies that produce promos, people who create their brand image known as influencers, and everybody who wants their message to be in the spotlight. And therefore, do it, take that clip, upload it, press that delete button, and just own the vibe of your video. It is simply a matter of a few steps before your footage may appear as one taken out of a professional studio. And the supreme bit? You fiddled it yourself.